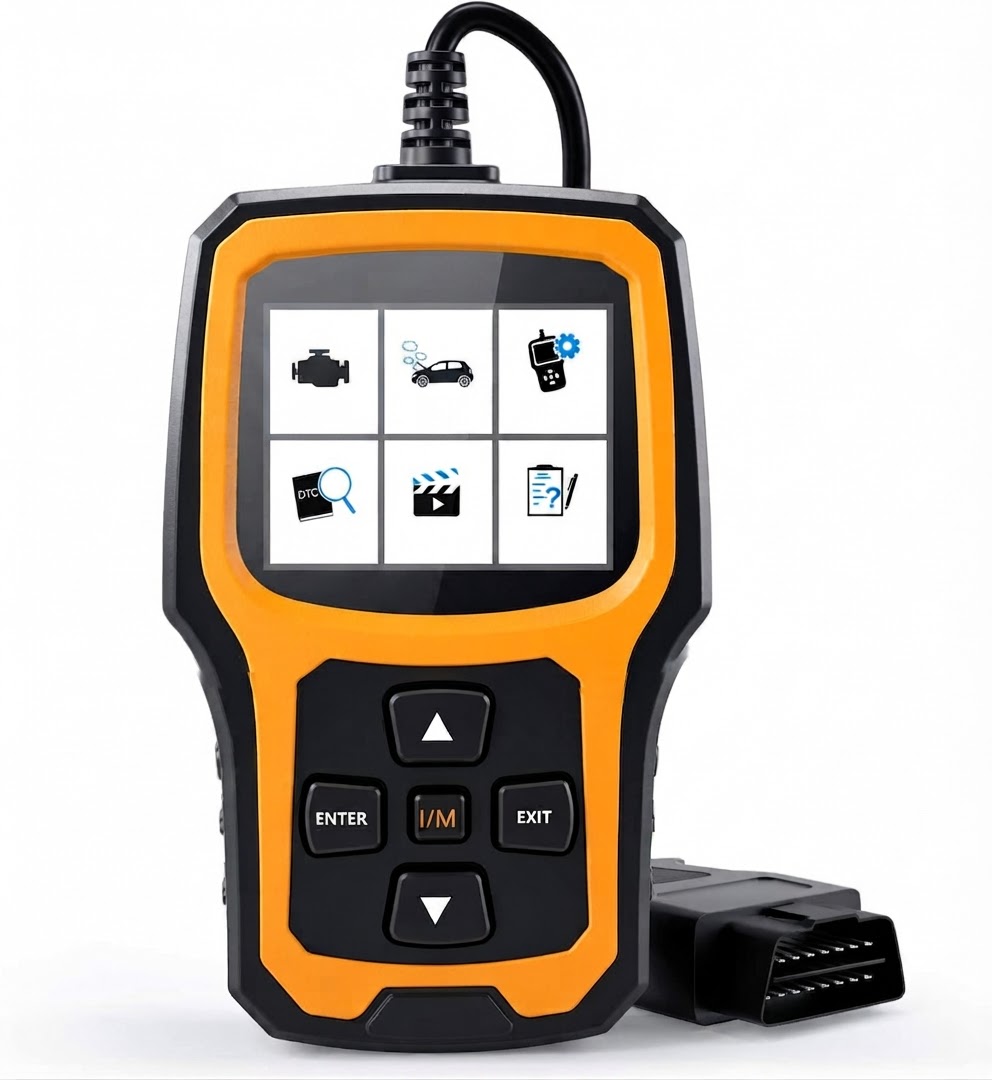
How to Read Engine Diagnostic Codes with an OBD2 Scanner
Step 1: Locate the Vehicle DLC Port
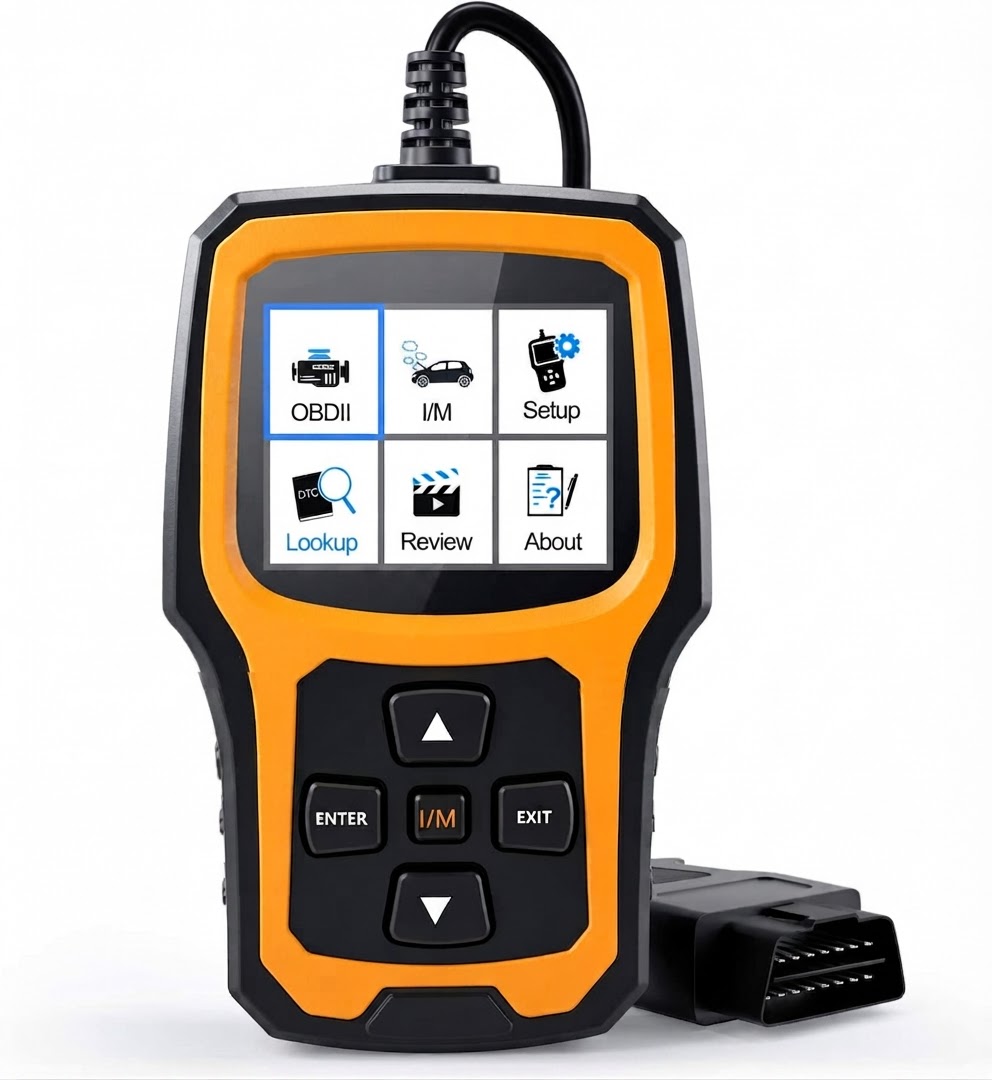
Find the Data Link Connector (DLC) under your vehicle's dashboard, typically located beneath the steering column. This standardized port is available on vehicles built in 1996 and newer.
Step 2: Plug in the Automotive OBD2 Scanner
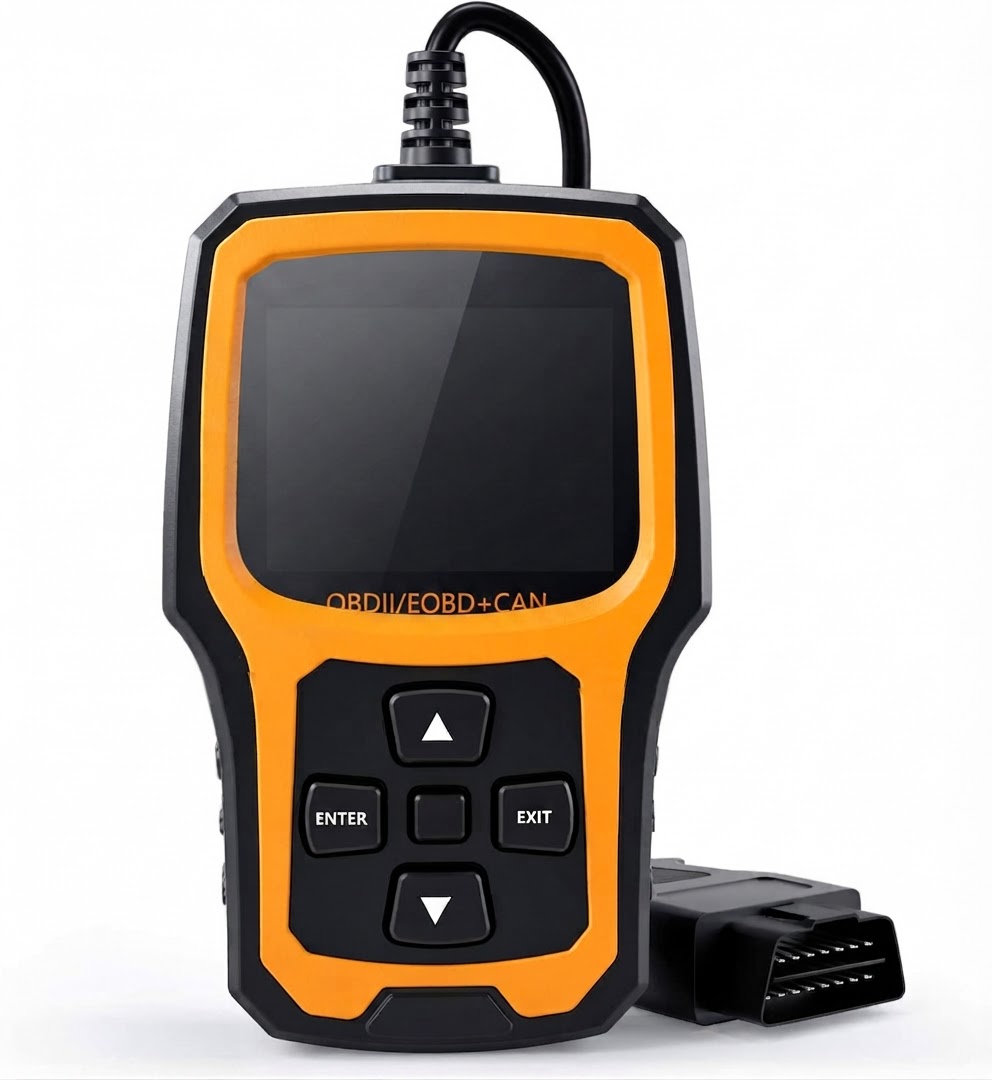
Insert the cable from your Enhanced OBD II Vehicle Code Reader tightly into the DLC port. Ensure the connection is fully seated before powering on the vehicle ignition.
Step 3: Turn Ignition to ON and Scan
Turn your vehicle's key to the ON position without starting the engine. The scanner will power up automatically using port power. For complete background on diagnostic preparation, refer to the main guide.
Step 4: Interpret Codes and Test EVAP
Navigate the scanner menu to read diagnostic trouble codes. If an emissions fault is detected, use the tool to initiate EVAP system leak test monitoring to inspect fuel tank system integrity monitoring controls.
Step 5: Clear Diagnostic Trouble Codes
After carrying out necessary repairs or tightening loose components, select the option on your Auto Check Engine Light Scan Tool to erase active codes and reset the dashboard engine indicator light.
Read the full guide: [Why Is My Check Engine Light On? Causes, Diagnostics, and Solutions](/blog/why-is-my-check-engine-light-on)