
Using Car Engine Scanner for Home Diagnostics
August 1, 2026. This technical overview details the systematic process of identifying automotive fault codes without professional intervention. It is designed for vehicle owners who require a reliable method to interpret dashboard warnings and maintain long-term engine health.
Understanding the Home Diagnostic Environment
When a check engine light illuminates, it represents a data point within a complex system of sensors and control modules. The challenge for the home mechanic is not just seeing the light, but interpreting the underlying signal. Two axes matter here: the severity of the alert and the accessibility of the diagnostic data. According to the Millwoods Community Group, many drivers face significant inspection fees just to have a technician plug in a tool, which often leads to delayed maintenance. By shifting the diagnostic capability to the driveway, owners can categorize issues into immediate safety concerns or deferred maintenance tasks. This categorization is essential because there are many common reasons for check engine light activation, ranging from a loose gas cap to a failing catalytic converter. Once you see it this way, the dashboard light stops being a source of anxiety and becomes a manageable metric. Without a structured approach, the home mechanic risks misinterpreting symptoms, which can lead to unnecessary parts replacement. A standardized process ensures that the diagnostic phase is completed before any physical repairs are attempted. This stage of the process is often where the most time is saved, as it narrows the scope of investigation from the entire engine bay to a specific circuit or component group.
Integrating Car Engine Scanner into the Workflow
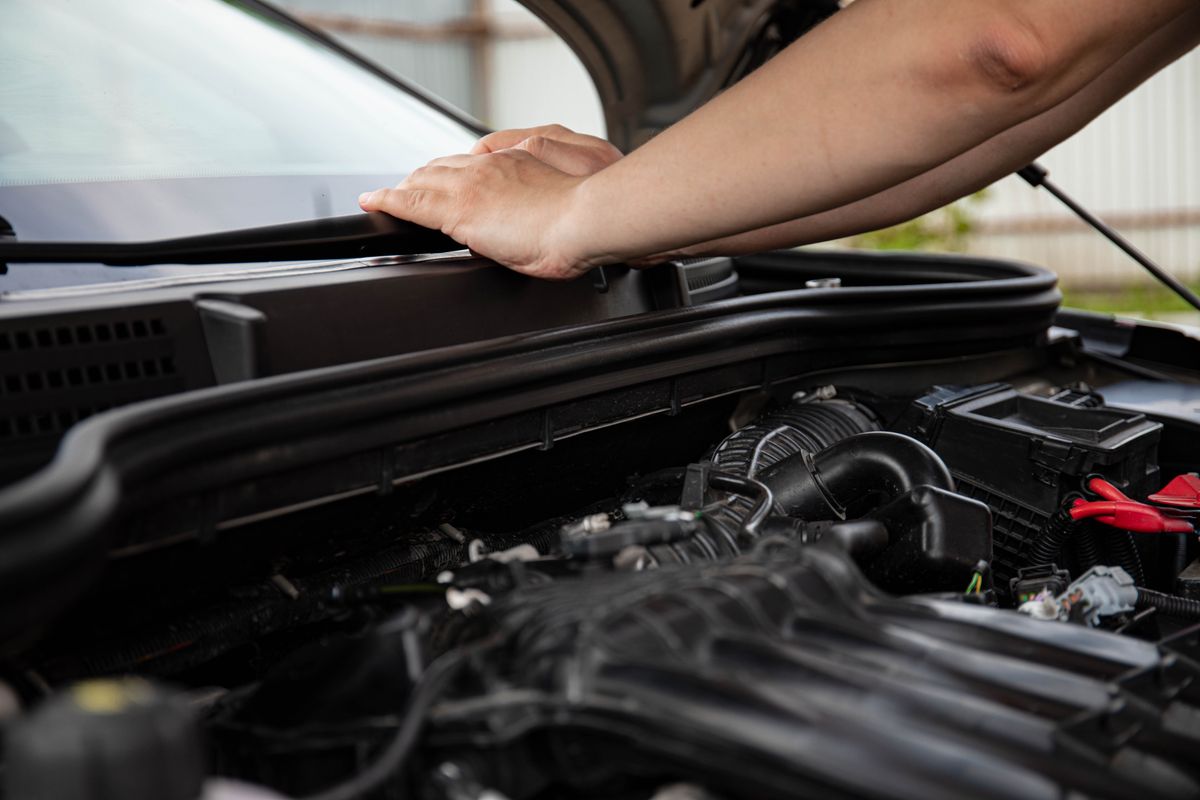
Photo by Sergey Meshkov on Pexels
Think of it as a matrix of data acquisition and error resolution. The Car Engine Scanner bridges the gap between the vehicle’s On-Board Diagnostics (OBDII) port and the user’s understanding. To begin, the device is connected to the port, typically located under the driver-side dashboard. The scanner initiates a handshake with the Engine Control Unit (ECU), pulling stored, pending, and permanent Diagnostic Trouble Codes (DTCs). This direct communication eliminates the guesswork often found in manual troubleshooting. As highlighted in a demonstration by Fix It Angel, the ability to pull these codes quickly is the primary step in avoiding expensive shop diagnostic fees. For those following a home mechanic diagnostic checklist, the scanner provides the raw data necessary to move from observation to action. It is important to note that the scanner does not just provide a code; it provides a starting point for a deeper mechanical investigation. While the scanner can clear codes, users must prioritize resetting check engine light safety to ensure they aren't masking a critical mechanical failure. The device serves as a digital translator, turning electrical resistance fluctuations and sensor out-of-range signals into standardized alphanumeric codes that can be referenced against manufacturer specifications. This level of precision allows the user to verify if a repair was successful by monitoring the readiness monitors and ensuring the fault does not return during a drive cycle.
The Decision Rule for Home Diagnostics
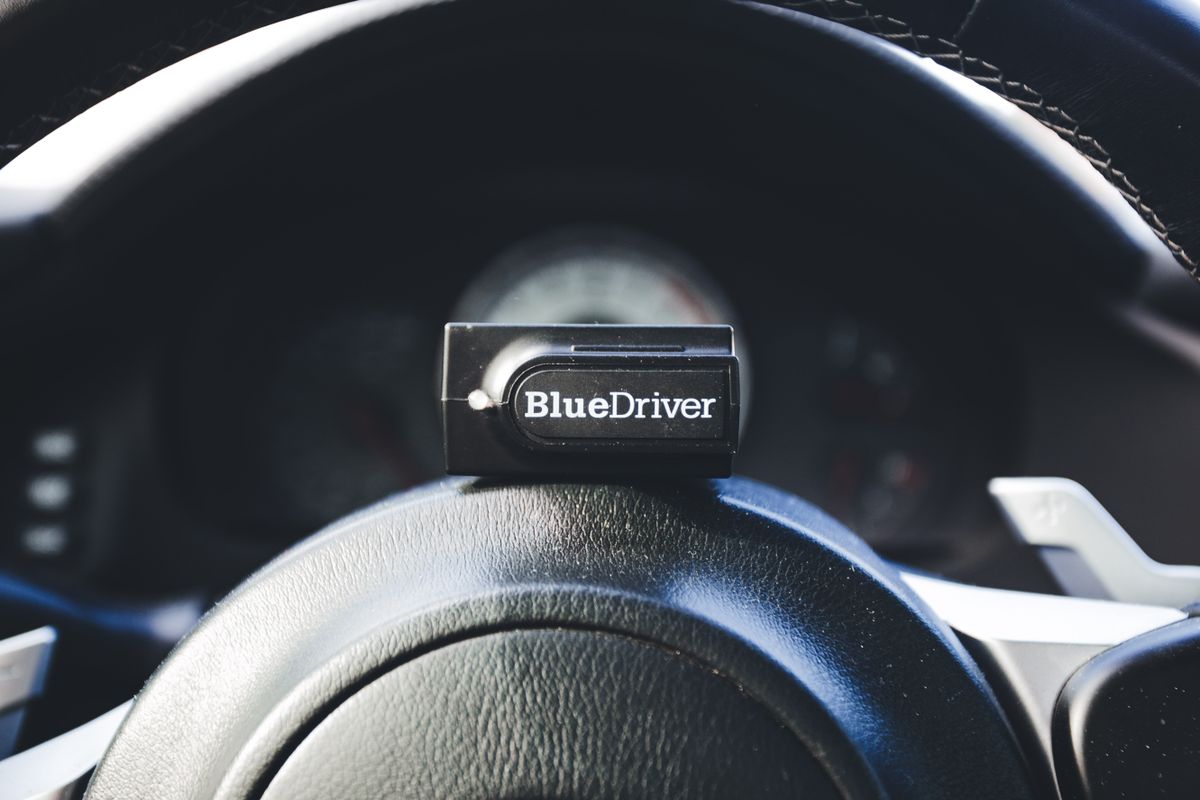
Photo by Erik Mclean on Pexels
Effective home diagnostics require a clear framework to determine when a repair is within a user's capability or when professional service is required. The decision rule: if the scanner reports a code related to a primary safety system or a high-voltage hybrid component, professional intervention is mandatory; for secondary sensor issues or emissions components, home repair is often viable. To maintain this standard, users should follow this structured diagnostic sequence:
- Verify the battery voltage is within the 12.4V to 12.7V range to ensure the ECU is receiving stable power.
- Connect the Car Engine Scanner and record all active and pending codes before performing any resets.
- Cross-reference the codes with the common reasons for check engine light to identify frequent failure points for your specific make and model.
- Inspect the physical wiring and connectors associated with the reported sensor for signs of corrosion or heat damage.
- Utilize the home mechanic diagnostic checklist to rule out basic mechanical failures like vacuum leaks or clogged filters.
- Perform a test drive following the repair to verify that the ECU completes its self-test monitors.
- Review the resetting check engine light safety protocols to confirm the vehicle is legally and mechanically compliant for road use.